Understanding Xcode - Project Setup

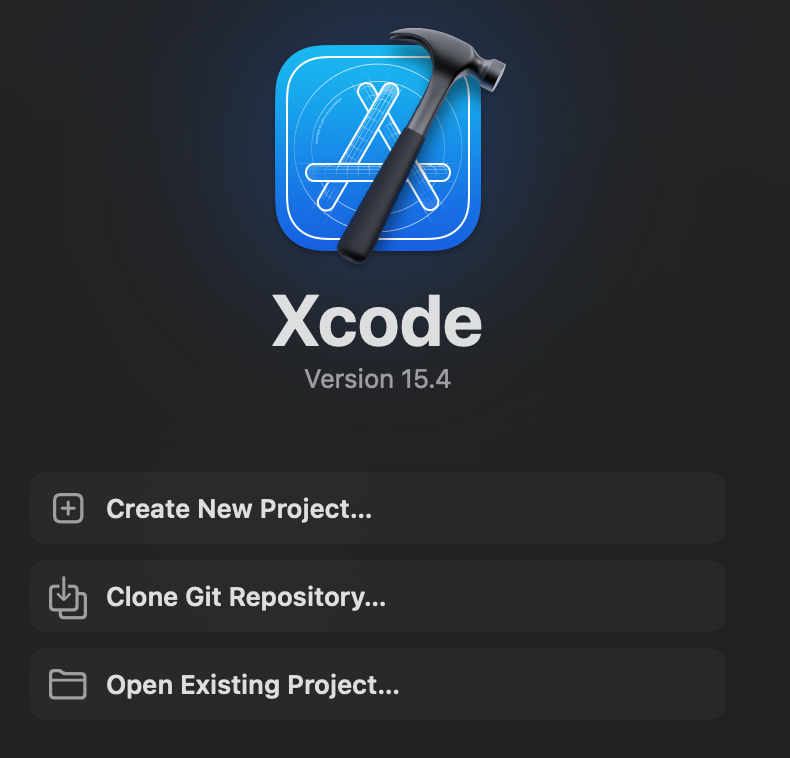
Opening Xcode provides us with three options.

I believe the above are self-explanatory. Let's dive into the first option.
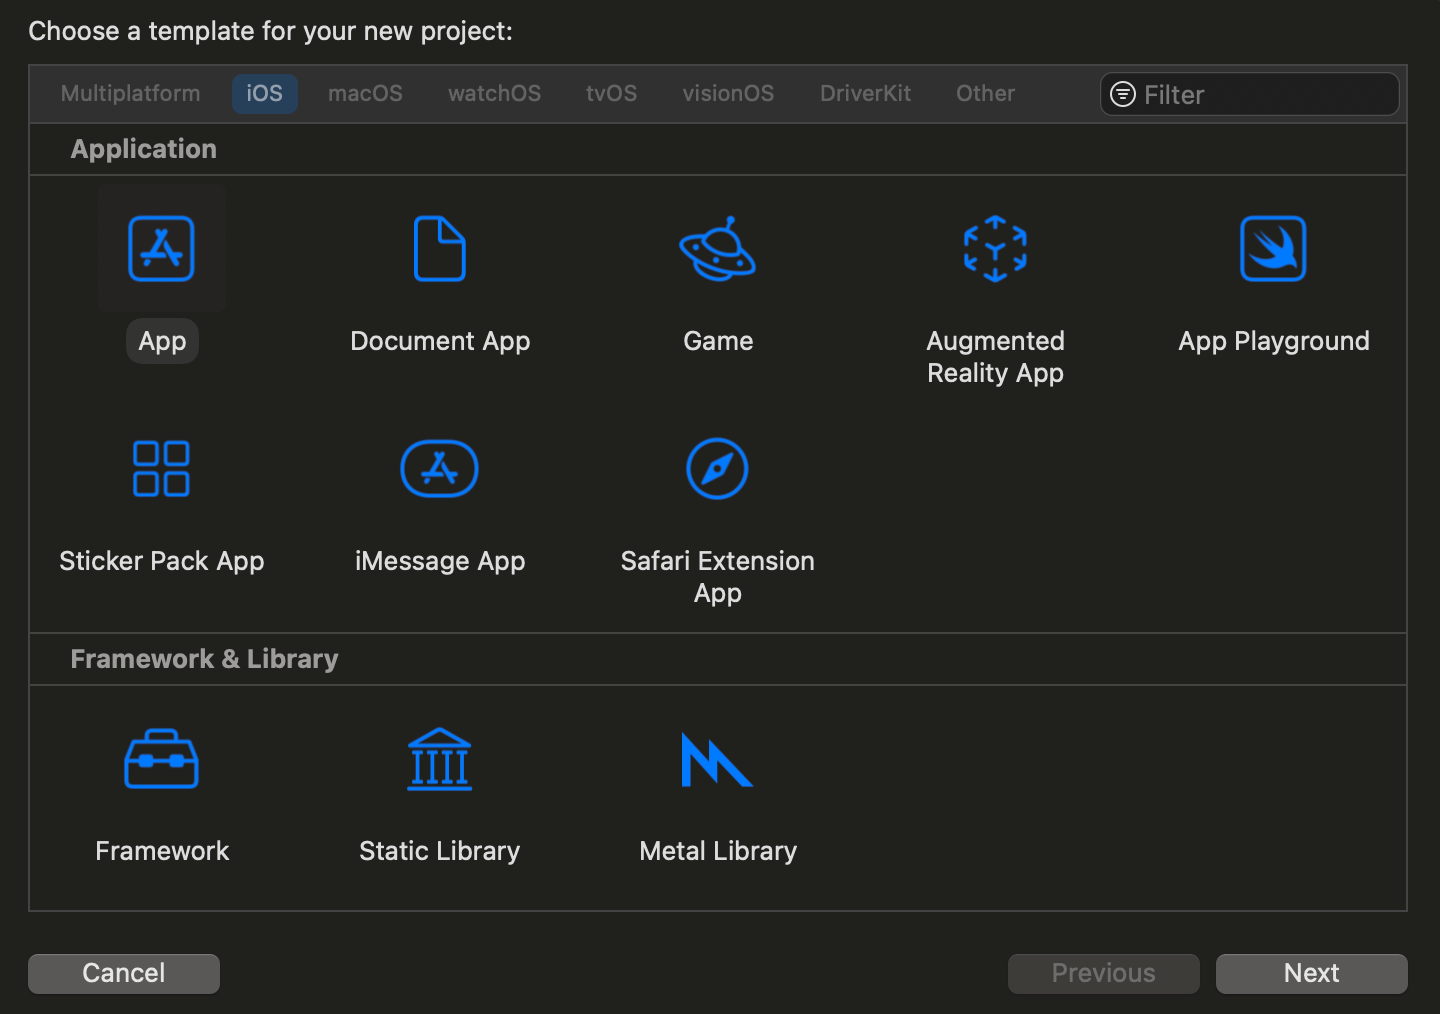
Clicking on it will pop up a window asking you to choose a template for your project depending on the platform you want to build for.

First select the desired platform and then you have to choose the kind of software you are going to build. For example, you could be building an application, or a framework/library
Let's click on iOS platform and App as the template and click next.
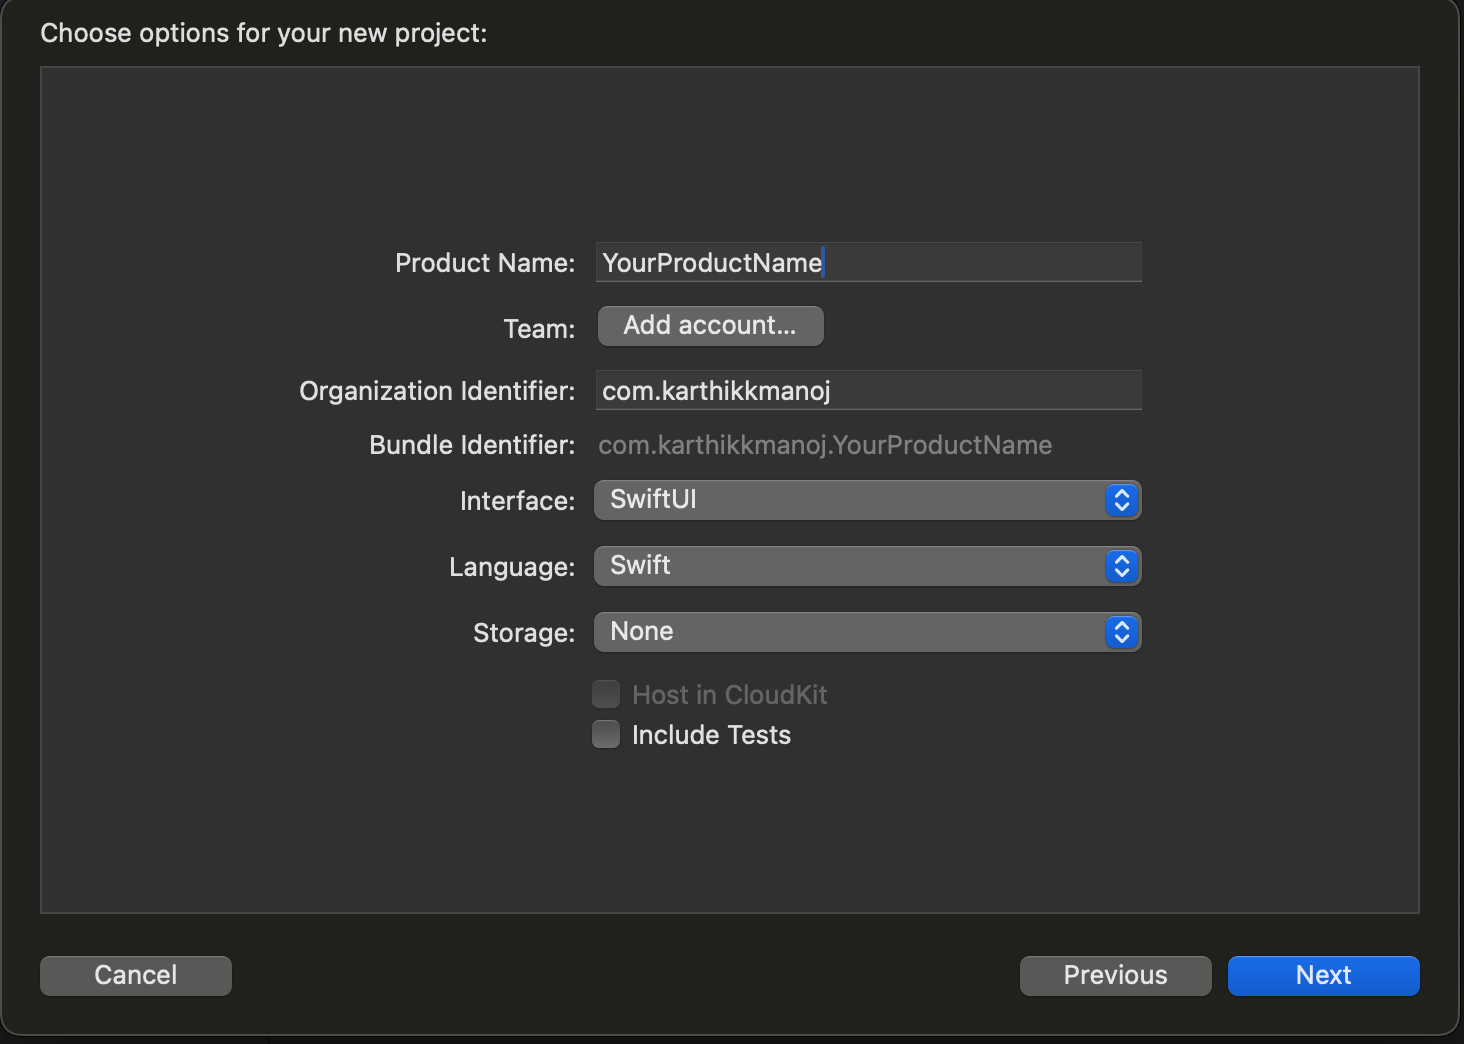
Now we need to let Xcode know some details that will help to identify your app and you as a developer.

1) Product Name
Name of the app that will be displayed in App Store and appear on device when installed
2) Team
Every app is published under a team. To publish apps to App Store and to enable advanced platform features such as Push notification, CloudKit you need a paid Apple Developer Program enrollment. If you just need to develop, build and install application on your device, you could get away with free Apple Developer Program.
Click on Add account to sign in using your Apple ID. If you are not part of paid developer program you'd see <your name> (Personal Team) and role as User. Otherwise you would see your organization name and corresponding role.
You can enroll in the Apple Developer Program here developer.apple.com
3) Organization Identifier
A reverse Domain Name System (DNS) string that will uniquely identify your organization. You want this to be unique because this will be part of the bundle identifier of your application.
4) Bundle Identifier
Bundle identifier is a combination of your organization identifier + product name. It uniquely identifies an app in Apple's ecosystem. Also note that once app is published, you cannot change bundle identifier.
5) Interface
The method of building your user interface. You could choose Storyboard or SwiftUI
6) Language
By default it's Swift in Xcode 15.4
7) Storage
What kind of local storage mechanism you want to adopt. You could choose SwiftData or Core Data.
8) Include Tests
Enable this if you want Xcode to create a test target and its corresponding test files for you.
Click on next and choose a directory for your project. There you go, you have created your Xcode project.
Conclusion
I hope you enjoyed this article on understanding various terminologies while creating a Xcode project. I would be continuing this series of articles on Xcode. Stay tuned!